Bloglovin</a>

I recently became obsessed with anything and everything leather but lets be serious ain't nobody got money for that. I am also trying to be politically correct and not wear animal products (thanks PETA for all the terrifying ads). So I found this lovely product from Michaels that gives an illusion of leather for basically pennies...and maybe a few quarters and a dollar...still it's cheap. So if your interested just follow my directions at the end and use the pictures as a guideline...duh. If you wanna let me know how it turns out you can use the hashtag #Lazyblueorchids on Instagram.


Tip: Don't worry about the lines being perfect, just get them close enough


Tip: If your cardboard isn't long enough just tape another piece and make sure to use a pencil to outline the cardboard...less mess.


Tip: Tape any area you want to protect. It is best to tape pants to hard and sturdy surface, it makes this a whole lot easier.

Tip: Use left over cardboard as paint palette.

Tip: Only paint up and down, not side to side to ensure smooth finish.

Tip: Peal tape away once finished painting, you don't have to wait until it's completely dry. (I have no patience)


The above shot is with no flash on the camera. The below shot is with flash on camera


Tip: It's probably smart to use gloves but I work faster without. It's up to you but this stuff does wash off with soap and water.

VOILA!!!


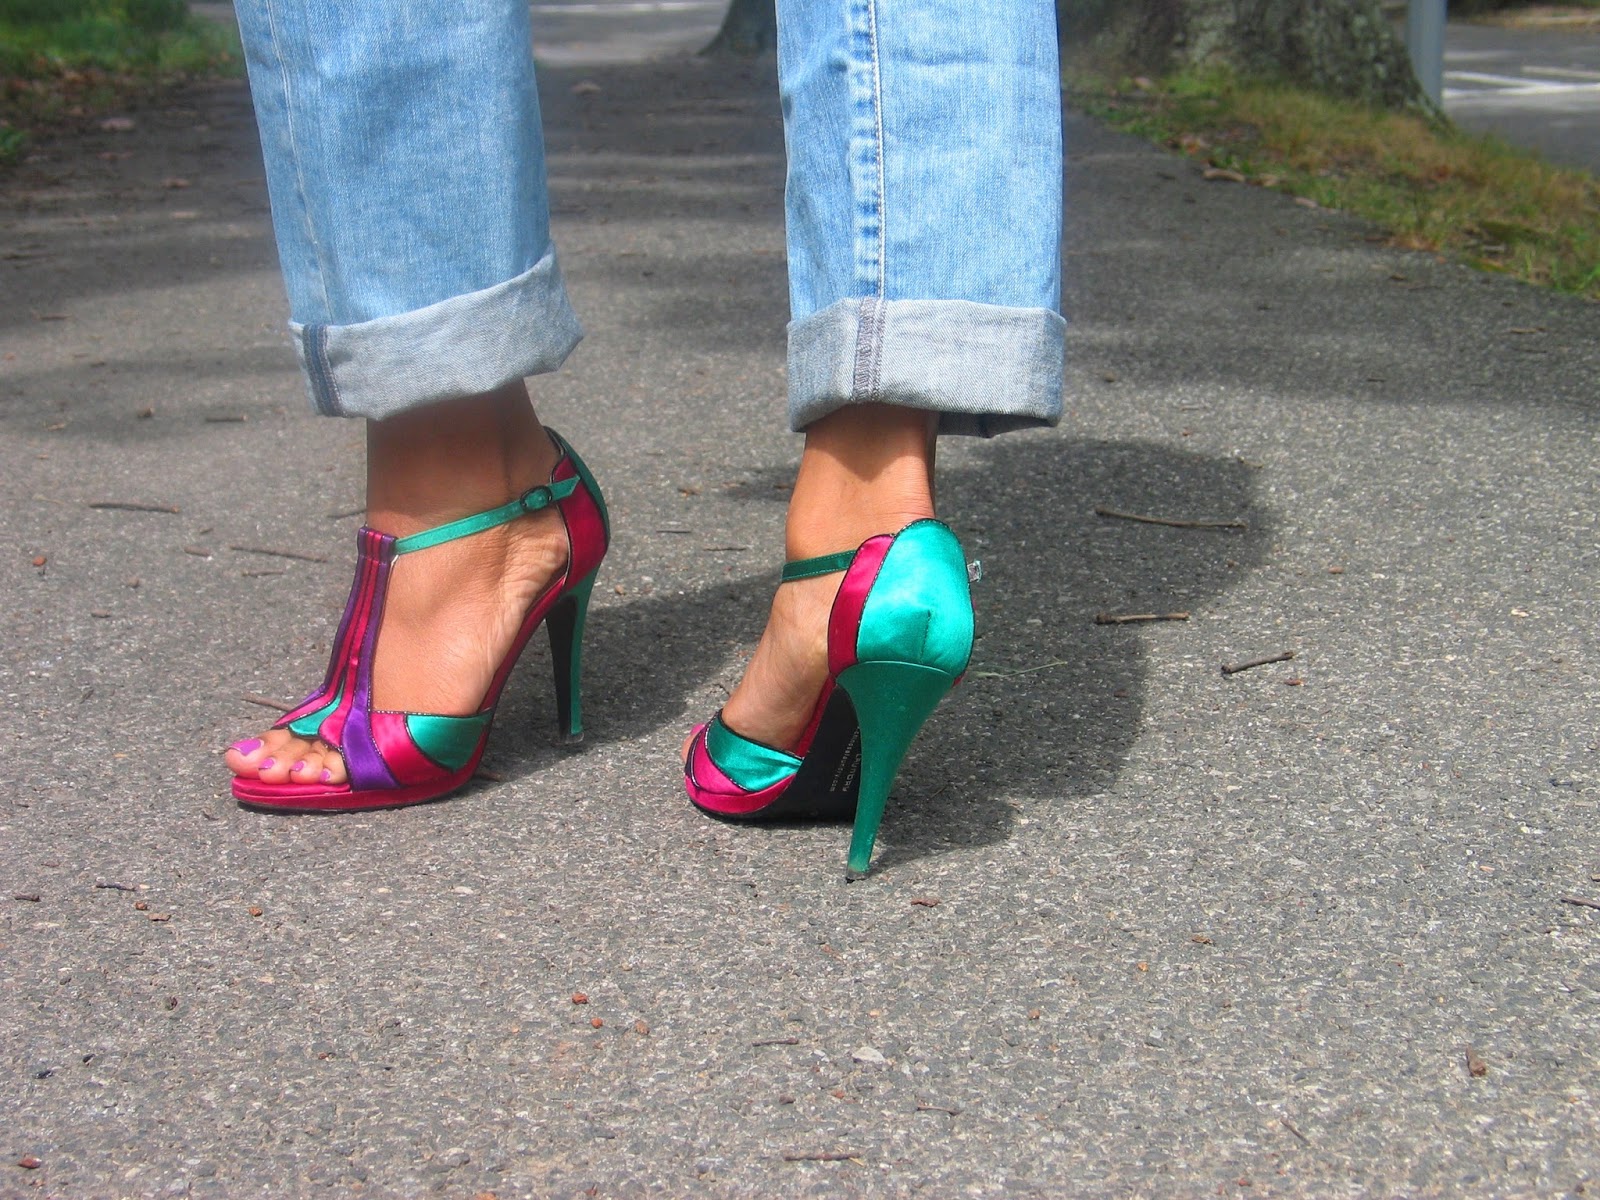
The above shots I rolled the bottom to show a little green. The below shots are without the bottom rolled up. I think I like it rolled up :)


What You Will Need
1. A pair of pants
2. Scissors
3. Tape
4. A pencil
5. Cardboard
6. Paint Brush
7. 3D Fabric Paint (I bought mine from Michaels)
Instructions
Step 1: Put pants on and use your pencil to mark an outline of the design you are going to paint.
Step 2: Take pants off and trace an outline of the pant legs on your cardboard pieces, then cut the outline.
Step 3: Now place the the cardboard cutouts into pant legs. (This is to insure no paint seeps through to the other side)
Step: 4: Tape the pants down to a hard and sturdy surface. Make sure to cover all areas on the pants you don't want to get paint on with the tape.
Step 5: Pour some paint on a palette.(I used a piece of cardboard)
Step 6: Paint your pants using up and down strokes only. (I only applied one coat of paint which for this design was only one bottle of paint. If you want to apply more coats then allow each coat to fully dry first)
Step 7: When finished painting remove tape carefully (I didn't wait for paint to fully dry)
Step 8: You can use a smaller brush to touch up any mistakes (optional)
Step 9: Allow to dry for at least 3 hours.
Step 10: Take cardboard out of pants. Put pants on and make everyone jealous...or whatever floats your boat.
Bye :)